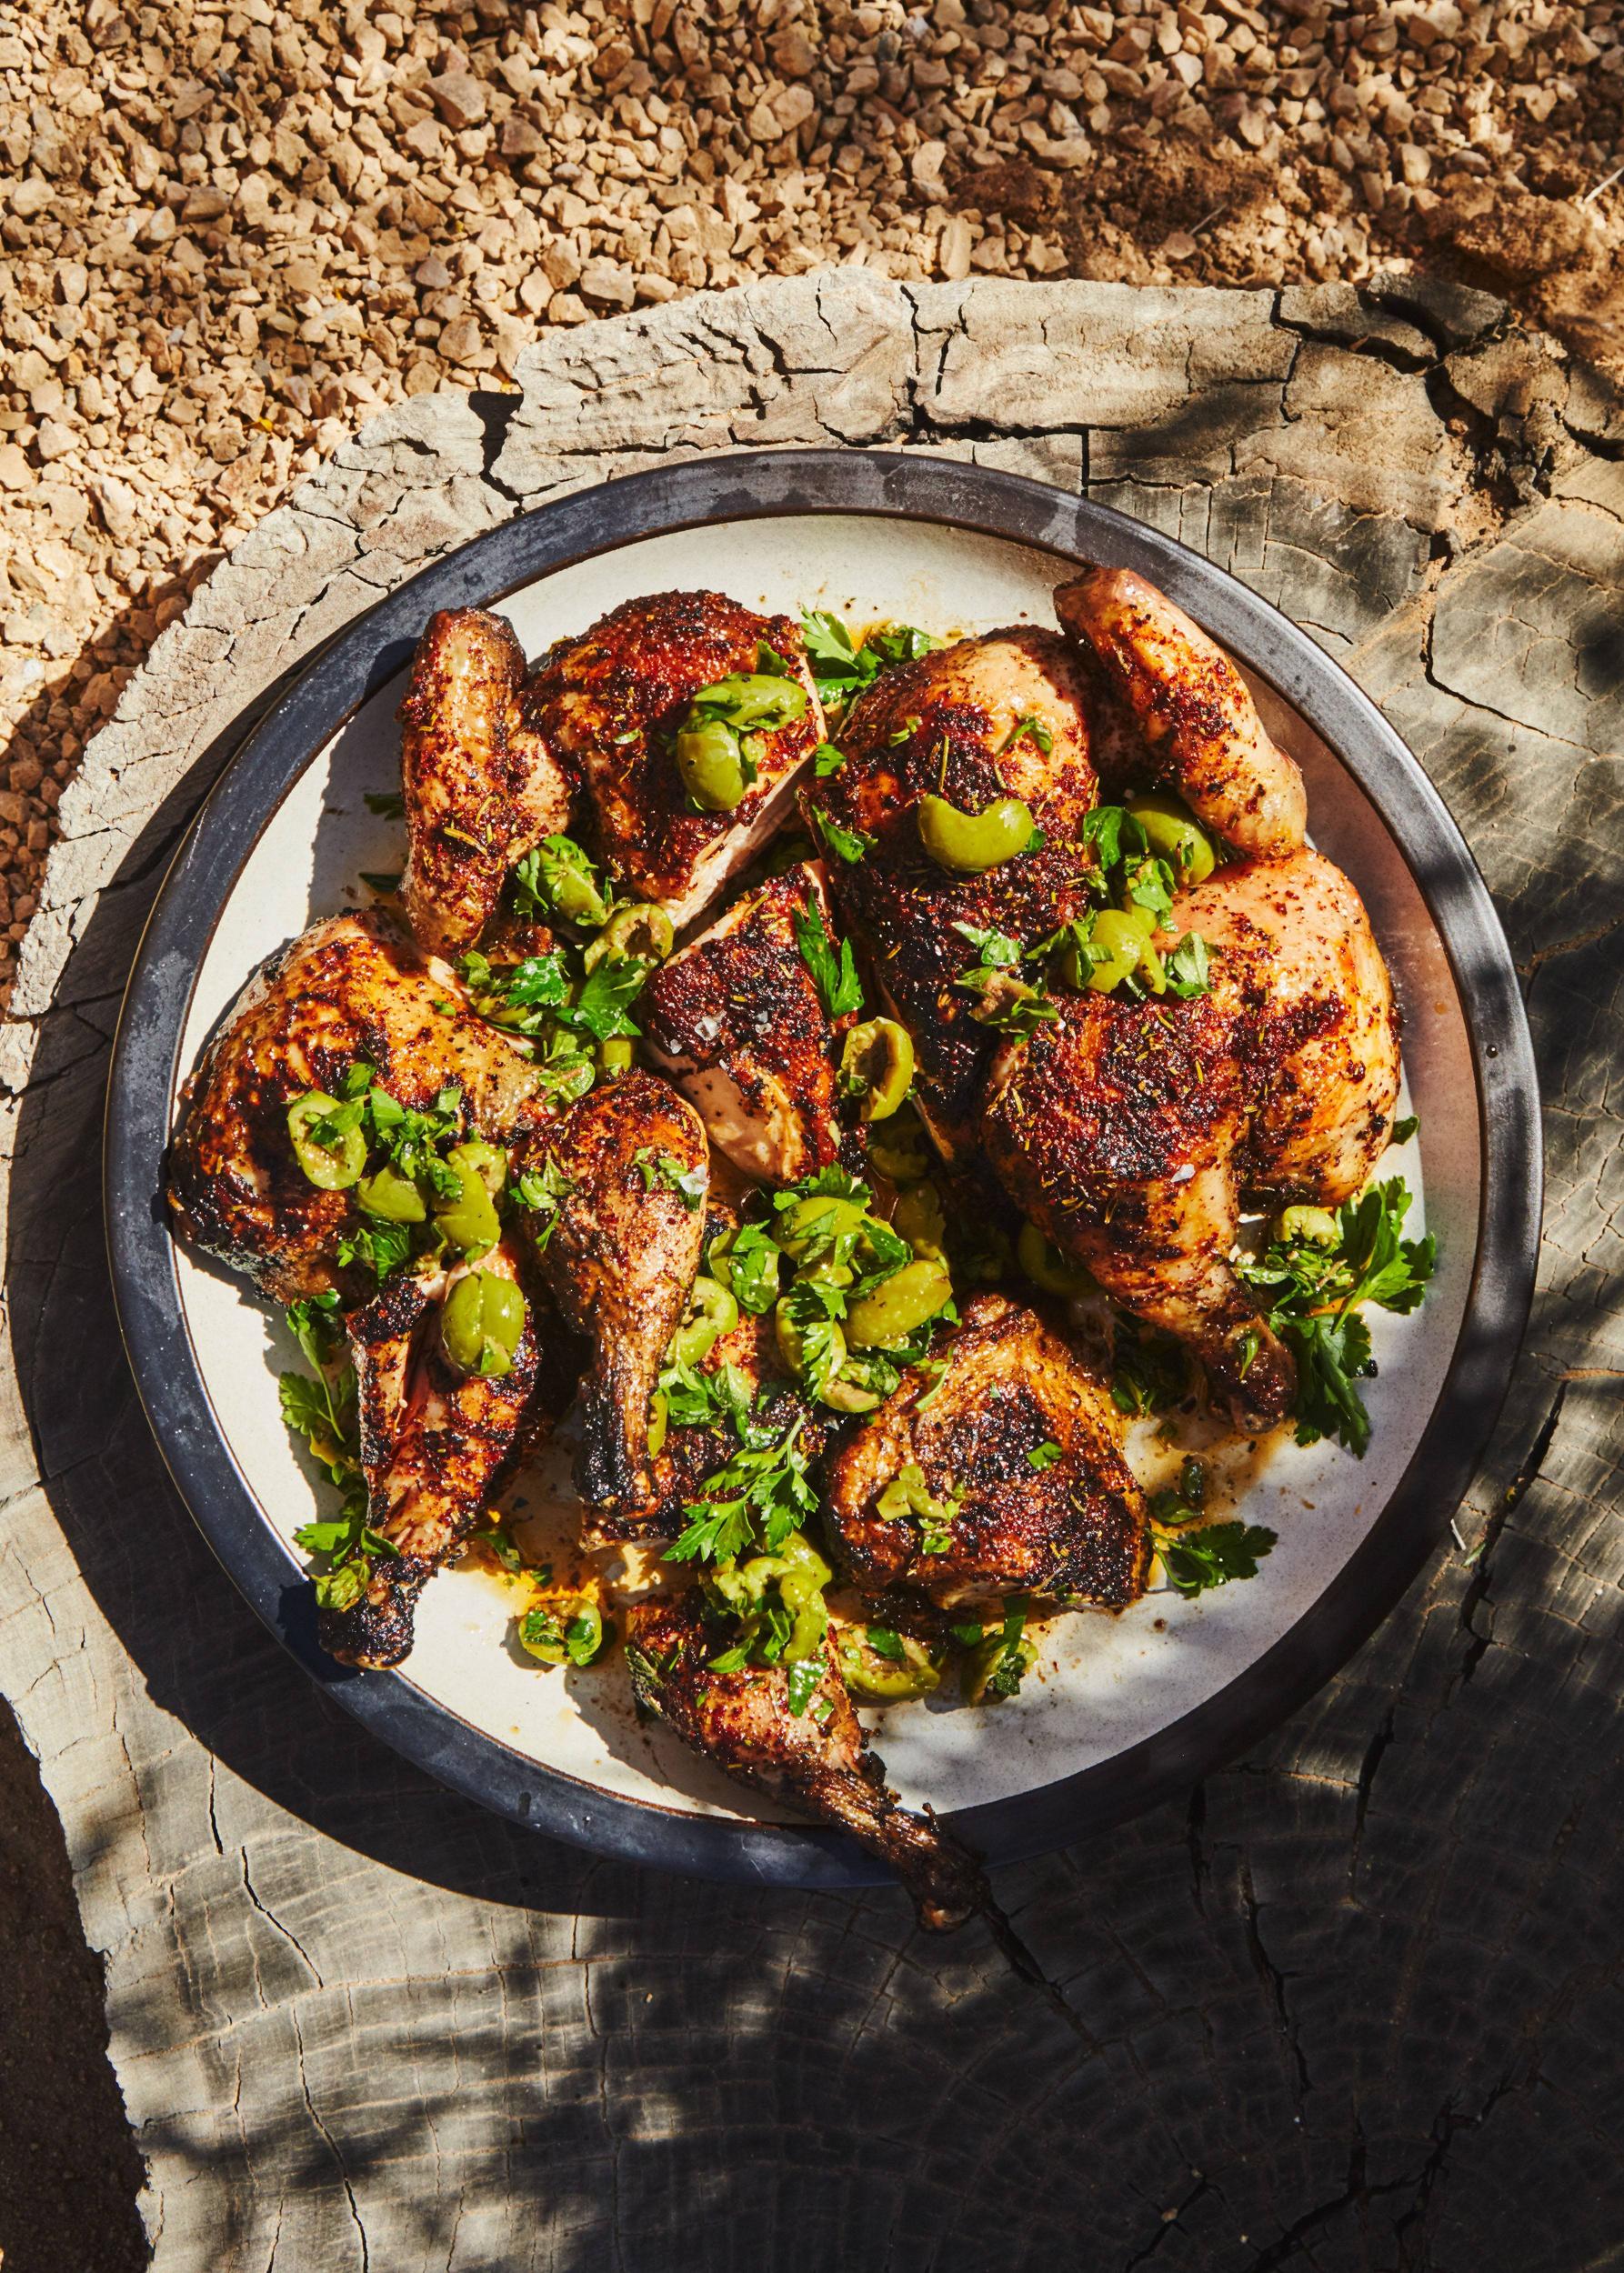
Grilled lamb rack is a wonderful meat dish to serve at your next dinner party. These succulent pieces of lamb are tender and packed with flavor. Whether you're preparing the dish for a large family or a dinner party with friends, a rack of lamb is sure to please. There are two ways to grill lamb well: You can roast the meat slowly, or you can heat it on a stove. This will create a beautiful caramelized crust. The meat will remain tender and moist throughout cooking and be juicy in its middle, regardless of the method used.
It's now time to grill the meat. Place it on the grill with the fat side down, which will render away from the heat source and prevent flare-ups. After the rack has been on its bones for a few minutes, flip it over so the meaty side is on top. For at least 3 minutes, grill the rack on each side. Once it is done, transfer to the indirect side for cooking.
Preheat the grill before grilling lamb. The rack should be placed on the hot side of the grill, away from the bones. Once the grill has reached a high temperature, turn the rack around and cook each side for approximately twenty-five minutes. To check the internal temperature, use a meat thermometer. The ideal temperature to roast lamb is 125°F. You can use a thermometer to check the internal temperature of the meat, so it's essential to use an accurate thermometer.
Once the rack has been grilled on both sides, place it on a plate and allow it to rest for at least 5 minutes. You can then carve the rack and serve it as your main dish. This dish tastes best when it is cooked medium-rare. It should be rested for five to ten minutes before serving. You can extend the cooking time if necessary. A grill with two zones of cooking is best for the perfect grilled lamb rack.
You can divide the rack into eight pieces and serve it as a main course if you are serving a large group. Depending on the size of your family, the rack can be divided into eight portions. You could also cut the rack in half to serve as a single serving. This is a great way to enjoy a lamb rack grilled on the grill.
You can also marinate a lamb rack with garlic, herbs, and Dijon. The result is a juicy rack of meat that's both crispy and juicy inside. The herb mixture can be used to brush the racks or baked in the oven for a further 10 to 15 minute. After they're cooked, allow them to cool before wrapping the bones with foil. The rack can also be grilled on an outdoor grill for 15 minutes.
FAQ
Are there any requirements to become a chef?
No. No. Some even went to culinary school just to gain experience. But most chefs prefer culinary school as it offers them more opportunities for learning and growth. Culinary schools offer students hands-on training, which helps them build valuable skills and improve their cooking knowledge.
How much does it cost to go to culinary school?
Prices for Culinary School vary depending upon where you go, what program you select, and how long you stay there. The annual tuition average is between $10,000 and $30,000 The majority of students graduate with around $20,000 in student debt. However, some programs offer scholarships, grants, and work-study opportunities.
How long does learning to cook take? What time do you need to learn how to cook?
It all depends on what level of skill you have. Some people are able to learn basic cooking skills in a matter of days. Others might need months or even years to master basic cooking techniques.
The person who is learning to cook can vary in the amount of time they need. Someone who has never been to the kitchen before might need more time than someone who does it regularly. Also, certain types of cooking require more experience than others. Baking requires more knowledge than frying.
A specific technique will help you cook faster. Once you've mastered that technique, move on to another one. You don't need to worry about how many days or weeks it took to learn how to cook. Just keep practicing and enjoy the process.
Statistics
External Links
How To
How to make a perfect Omelette
Omelets are one of my favorite foods to eat at breakfast. But how do you make them perfectly? Many different recipes and methods have failed to work for me. So today, I want to share some tips and tricks with you so you can make your own delicious and fluffy omelets every morning.
Before we start making omelets, let's remember that eggs are temperamental. You must get them fresh, organically, and keep them cold until you cook. You must keep them cool enough to allow the whites to form properly and the yolks to become too runny if they're not kept at the right temperature. This makes your omelets look weirdly colored. If you want to make omelets right away, it's best not to use eggs that are too cold.
Another tip is to separate the egg before adding it to the pan. You don't want the white to get mixed with the yolk, as this could cause the egg to curdle.
You might burn the bottom of the egg if you place the egg directly on the stovetop. This could ruin the texture of your omelet. Instead, heat the egg in a microwave for 10 seconds and then place it in a pan. The microwave heat cooks your egg just right, without it becoming too soft.
Next, let’s talk about mixing the egg. Mix eggs well together. You need to turn the bowl of the mixer upside down. Then shake the bowl vigorously. This will whip the air around the bowl and mix the egg well.
Now comes the fun part: adding the milk to your mixture. First, pour half of the milk into the beaten eggs and then fold the eggs gently into the remaining milk. Don't worry if there are still streaks of egg visible; these streaks will disappear once you flip the omelet.
After you have folded the eggs, heat the oil in a pan over medium heat. Once the oil has started to sizzle, turn the heat down to low. Add 1/4 cup butter to the oil and swirl it around to coat all sides of the pan. Next, carefully open the lid and sprinkle salt into your pan. A pinch of salt will prevent your omelet from sticking in the pan.
Cover the pan once you have formed the omelet. Wait for the top to set. Flip the omelet upside down or with a spatula. Cook the other half for another minute. Take out the omelet and place it in a bowl.
This recipe is best made with whole milk. However, it can also be used with skimmed milk.