I love sweet potato grilled to perfection! I love them on top of grilled chicken or steak! They're also easy to prepare! In this post, I'll share some tips for cooking them on the grill! We will also be discussing how to create a printable card to help you prepare these delicious potatoes. Your guests will be amazed if you follow these steps. Don't forget to mention that sweet potatoes are an easy and guilt-free way for guests to start their day.
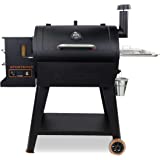
First, parboil your sweet potatoes! This will ensure that the potatoes aren't overcooked, and you don't end up with mushy, hard insides. A medium-high heat setting can be used for grilling. This is between 375 and 450 degrees Fahrenheit. Be sure to check the size of your sweet potato! A large sweet potato will require you to cook it for longer than usual.
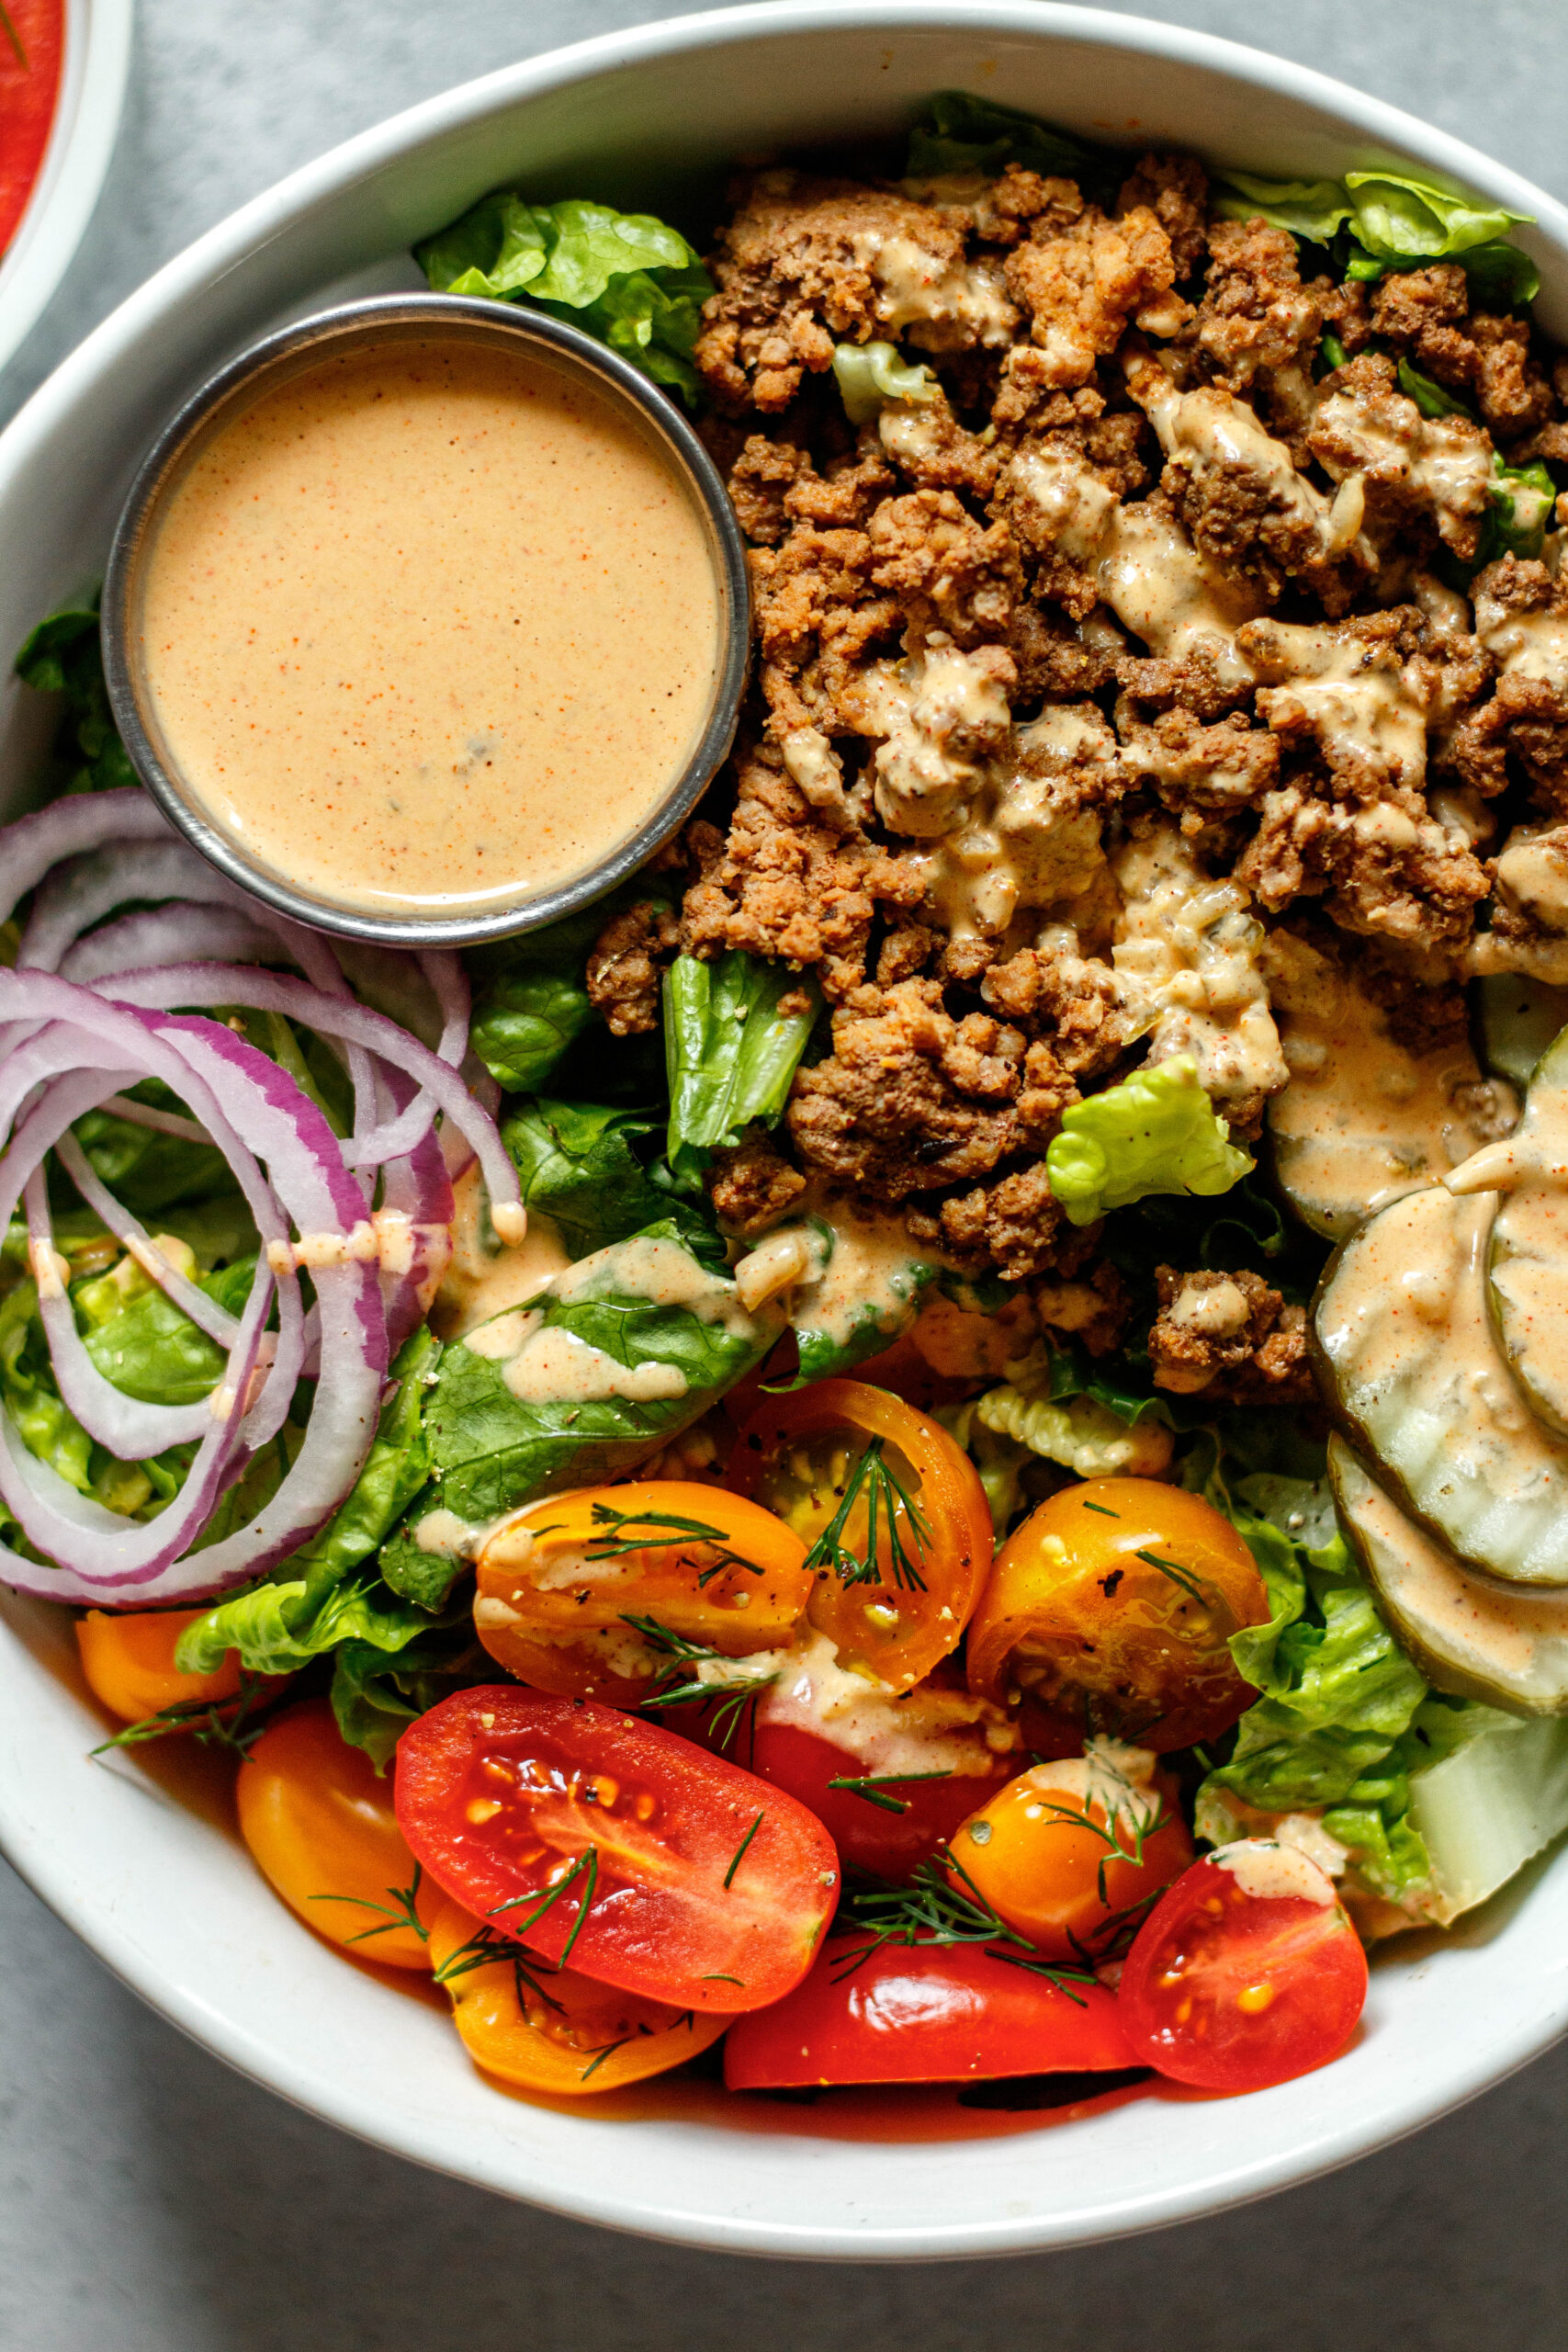
After sweet potatoes have been grilled you can sprinkle them with chopped herbs or chives. Try serving them on a bun with coleslaw, pickled jalapenos, or a burger! After you have removed the sweet potatoes from the grill, add some sauce. Grilled sweet potatoes can be served with other side dishes by being accompanied with coleslaw, blue cheese coleslaw, or other condiments.
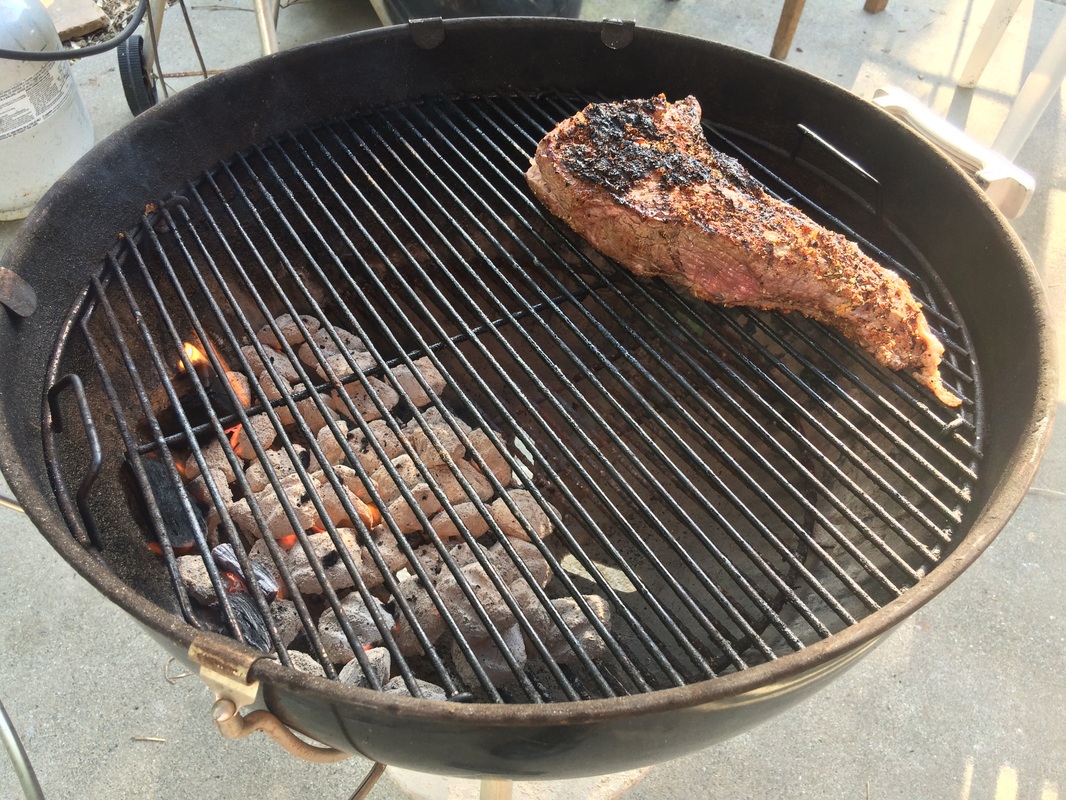
Before you grill sweet potatoes, let them cool completely. Slice them in half lengthwise. Finally, coat them with olive oils. Sprinkle with salt and pepper. Place the cut side down on a hot grill. Bake the sweet potatoes in batches for about five to seven mins each side until they are charred and crisp. You can also grill them and serve them in any manner you want. You can make them spicy or plain!
Grilled sweet potatoes can be a great side dish to complement your steak or grilled chicken. They are the perfect summer side dish. They're a great summer side dish! There are many delicious ways to serve these roasted potatoes. I hope that you enjoy them. They are an easy way for you to impress your guests, and they will keep everyone happy.
Sweet potatoes don't require peeling, but you should make sure to clean them thoroughly. To remove the skin, you can use a vegetable peeler. Then, cut the potatoes in half lengthwise. For large sweet potatoes, you should make two packets. And remember: the skin of the potato should be crispy, too. To make them even tastier, sprinkle some coarse salt on them to get that crispy skin!
The dressing can be made up to two days in advance. Keep it in the refrigerator for at least 2 days. Once it's chilled, you can leave it out at room temp while you grill your sweet potatoes. Make sure you rewhisk the dressing after each serving. Refrozen any leftover dressing in an airtight container. They will last up to four weeks. Grilled sweet potatoes are delicious no matter what.
FAQ
What is the average time it takes to become a chef? What Is the Average Career Path?
Becoming a chef takes approximately five years. This time you'll learn the basics of cooking and work as a cook assistant. After you've completed your training you can apply to be a line cook or sous chef. The salary range for a chef is between $25,000 to $60,000 per annum.
What are the benefits to using a slow cooker
Slow cookers are extremely useful as they make it easy to cook delicious meals in a short time. Slow cooker recipes often have a lower oil and fat content than traditional recipes. Also, slow cooker recipes are easy to use because they do all the work while you sleep.
Are you able to cook by yourself?
Yes, it is possible to be a self-taught chef! It is something everyone enjoys, regardless of their level of cooking ability. Learn how to cook at home. You can start small by making spaghetti sauce for dinner or pancakes for breakfast. The best way to learn how to cook is to try new recipes and experiment. You might even make some mistakes.
It takes anywhere from several hours to several weeks to learn how to cook, depending on your skill level. Cooking is more than following recipes. There are many methods to prepare food.
What equipment do I need to cook?
You don't require any special equipment to learn how to cook. The right tools can make cooking much easier. For example, a knife could be used for pasta making or a whisk would be better than a hand mixer for whipping egg whites to stiff peaks. The right tools make cooking easier and faster.
Statistics
External Links
How To
How to make a perfect Omelette
Omelets are my favorite breakfast dish. But how do you make them perfectly? There are many recipes and methods I tried, but none worked. So I wanted to share some tips and tricks so that you can make delicious, fluffy omelets every morn.
We should first know that eggs are very temperamental ingredients when making omelets. Eggs must be purchased fresh, preferably organic, and kept chilled until ready for cooking. You must keep them cool enough to allow the whites to form properly and the yolks to become too runny if they're not kept at the right temperature. This will make your omelets appear strangely colored. If you're going to cook them immediately, it is best if the eggs are still warm.
Another tip is to separate each egg before adding them to the saucepan. You don't want any white to get mixed up with the yolk because this could cause the omelet to curdle.
You could end up burning the bottom half of the egg if the egg is added directly to the heat source. Instead, heat the egg in a microwave for 10 seconds and then place it in a pan. The microwave heat cooks your egg just right, without it becoming too soft.
Next, let's discuss mixing the eggs. You want to mix the eggs thoroughly before you add them. Turn the bowl upside down and grab the whisk to do this. Next, shake the bowl vigorously. This will whip the air around the bowl and mix the egg well.
Now comes the fun part - pouring the milk into the mixture. The first step is to pour half of the milk in the beaten eggs. Next, fold the eggs into the remaining milk. You don't need to worry if streaks remain. They will disappear once you flip your omelet.
After you have folded your eggs, heat up the oil on medium heat. Wait for it to get hot. Once the oil has gotten hot, add 1/4 cup of butter and swirl it around so that the entire pan is coated. Carefully open the pan's lid and add salt to the pan. An additional pinch of salt will prevent the omelet form sticking to your pan.
Once the omelet has formed, cover the pan again and wait for the top side to set completely. Flip the omelet over using a spatula or flip the pan upside down. Cook the second side for a minute or so. Take the omelet out of the pan and immediately serve.
This recipe is best when used with whole milk. But, you can use skimmed milk as well.